Paper Clay Recipe

How to Make Paper Clay

Materials & Tools
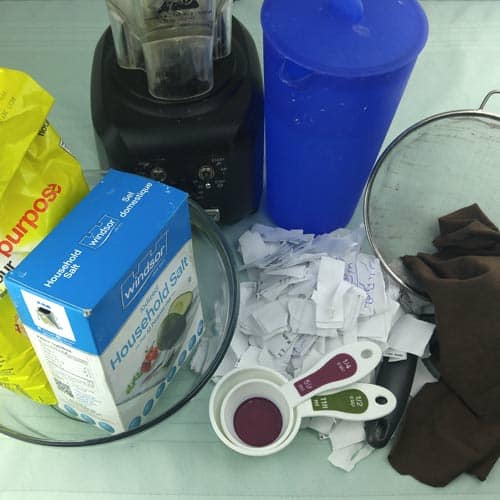
  • about 10 pieces of scrap paper ripped into small pieces
  • about 1/2 cup of flour
  • about 1/4 cup of salt
  • water
  • blender
  • strainer and/or cloth

Instructions

1. Blend Paper & Water
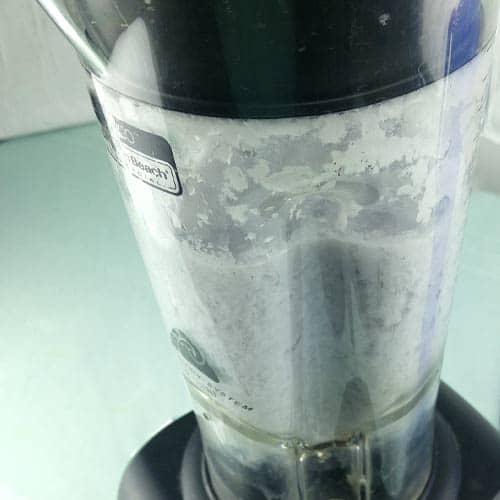
Add used scrape paper ripped into small pieces to a blender and mix until a consistent slush forms. Blending paper can be hard on a blender so make sure the paper is ripped into small pieces, that there is adequate water, and that you do not overload the blender.

2. Strain
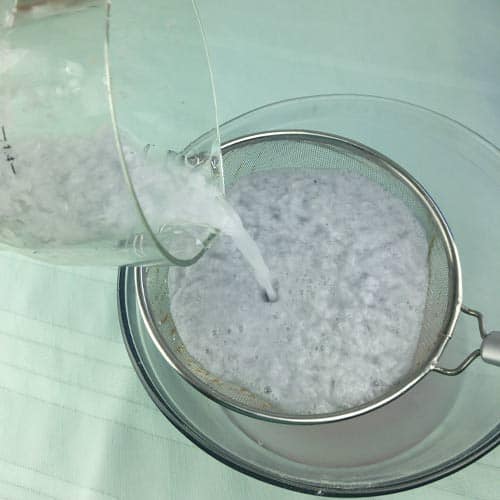
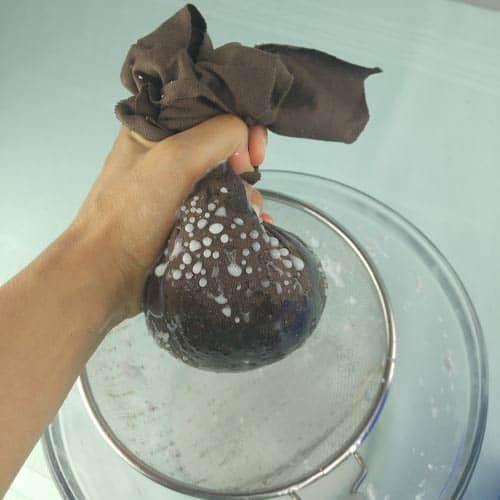
Use strainer or cloth to remove most of the water from the paper. You still want a mushy mixture at this point You will be able to adjust the mixture in the final step if it is too wet or dry to mold.

3. Add Flour & Salt
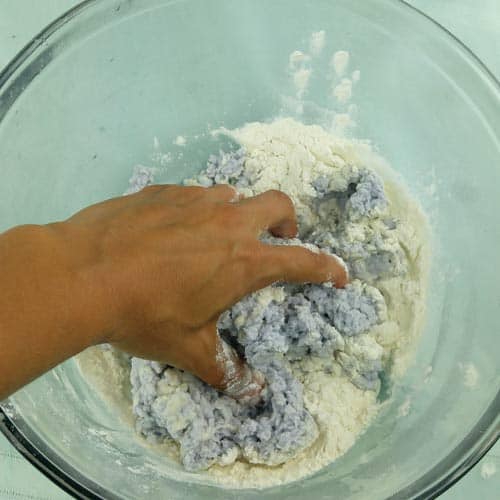
Mix flour and salt into paper pulp
Straining excess water out of paper clay

Add flour and salt to the mixture. The salt is used to ensure no mould or bacteria grow during the drying process and the flour makes the mixture easier to form into shapes.

Add more flour if you want it to be more sticky. Add more water if it feels too dry and squeeze out excess water if it is too wet.

It is worth mentioning that the paper clay can be successfully used without any flour but the flour makes it stick better making it easier for kids to work with.
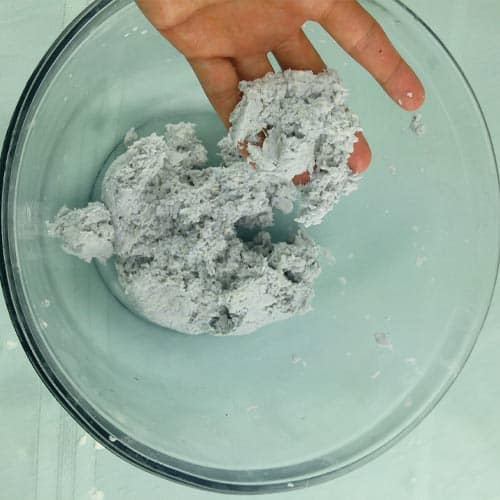
Finished paper clay

4. Shape Paper Clay

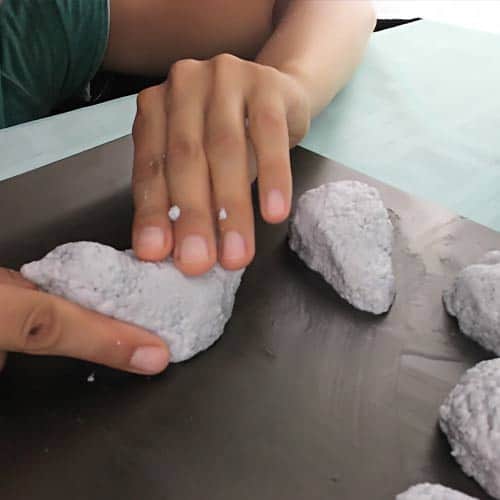
Paper clay can be shaped just like any other clay but it has a bit of a crumbly texture (although less so if you add extra flour) making it hard to make very detailed shapes.

It takes a fairly long time to dry making shapes that are very thick undesirable. Consider using some sort of form or filler for large pieces.

Once dried it can be shaped much like wood so details can be added if desired by sanding or carving.

5. Dry
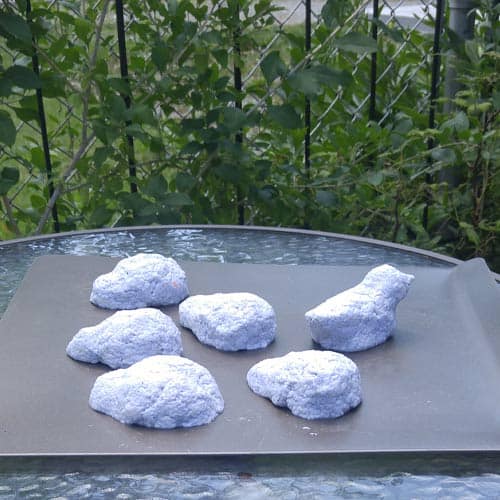
Paper clay can be dried in the oven or in the sun with drying times depending on the thickness of your sculptures.

Drying in the oven should be done on the lowest setting and will take anywhere from a few hours to an entire day. Drying outdoors works best in full sun and can take anywhere from a day to a few days. I often start the drying process in the oven and finish in the sun.
Easy Bookbinding for Kids

If your household is like mine, you have stacks of great kid art. The pictures may end up on the fridge for some time but they soon make way for new art. Give kid art new life by turning it into cute DIY books.

Make cute mini DIY books in under 10 minutes

This craft takes less than 10 minutes and can be made with items you likely have around the house. The books are useful as journals, note books, to-do lists, or sketch books and make great gifts. This craft is also a great introduction to the wonderful world of bookbinding, an art form that is widely under appreciated.

Use Paper you already have around the house

Although I planned this craft to be made with kid art it can obviously be made with a wide range of papers. Be creative and use any clean waste paper you have around the house.

How to make a DIY mini book

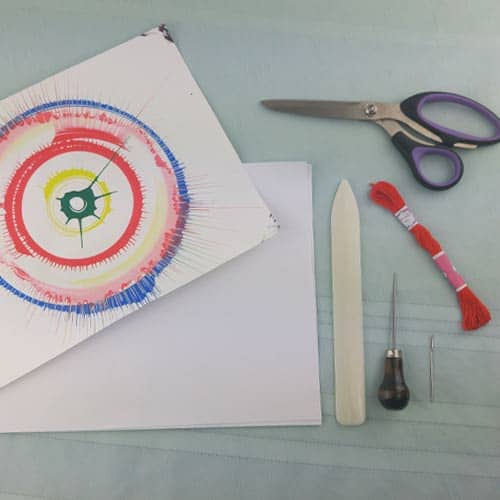
Materials & Tools

Instructions

  1. Cut cover page
  2. Cut pages
  3. Punch holes
  4. Sew
  5. Trim

1. Cut cover page

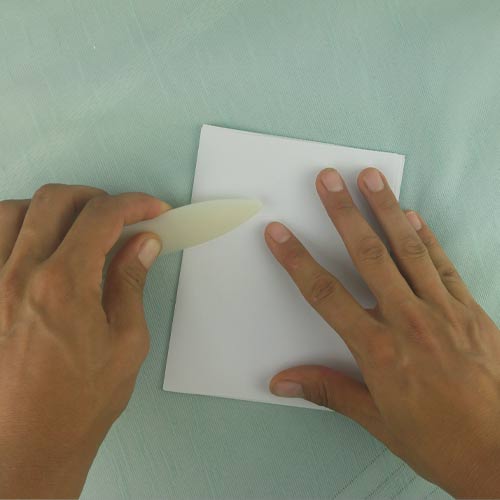
Cut a rectangle out of the cover paper and fold in half. Cut any size rectangle to make larger or smaller books. Run the card or bone folder along the fold to sharpen the crease.

2. Cut pages

Use the cover page as a template to cut 5 to 10 rectangles from the paper for pages. Stack the pages and fold in half. Use the card or bone folder to sharpen the crease.

3. Punch holes

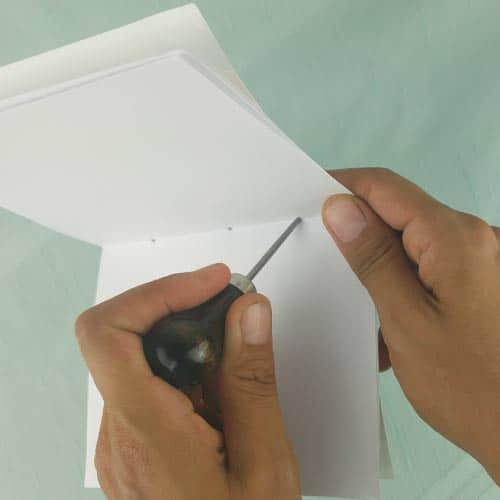
Place the pages inside the cover paper and use the push pin or awl to punch three holes along the crease, one in the centre and two on either side. Make sure the holes are large enough for the needle to easily pass through them. You can twist the push pin around inside the hole to make it bigger if needed.

4. Sew

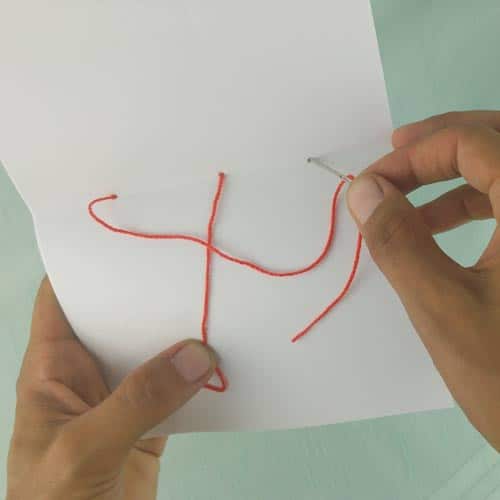
Thread about 30 cm of embroidery thread into the needle. Thread the needle through the middle hole starting on the inside of bookmaking sure the tail of the thread does not get pulled through the book.

Thread the needle in the top hole from the outside then run along the crease and through the bottom hole.

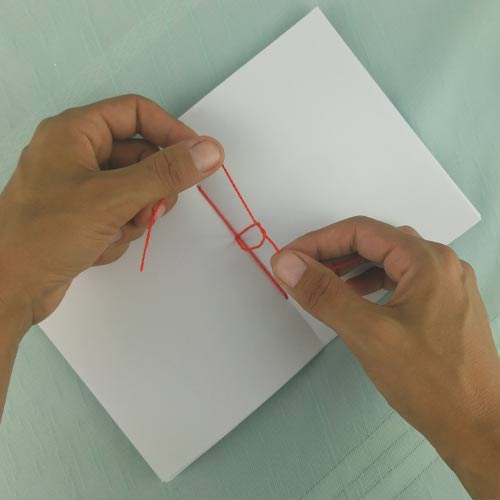
Finally thread the needle through the middle hole again, this time from the outside. Remove the needle from the thread and tie the two end in a double knot close to the crease. Trim the end close to the knot leaving a small bit of thread so the knot does not come undone.

5. Trim

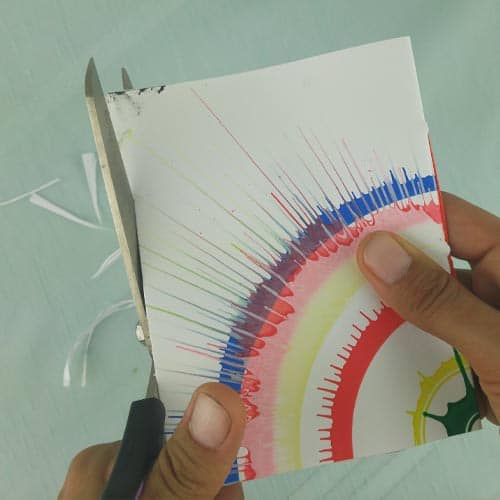
Use scissors to trim edges of book if needed.

How to set this craft up for little kids

After many events where I have made mini books with groups of kids, I have noticed a wide range of interest in the bookmaking process but a nearly universal interest in using the finished books. Although making a book from start to finish takes under 10 minutes, it is a good idea to consider your child’s attention span and interests and prepare ahead of time to shorten the craft if you think it is best.

Little kids, in particular, can lose patience on a craft like this one that has fixed steps and requires adult guidance. If you know your child is unlikely to enjoy the whole process you can prepare the book cover and pages ahead of time and punch the holes leaving only the sewing to do together. This allows the child to be involved in the making of the book but quickly gets to the open-ended creative work of drawing in the book.